How To Create a Content Calendar in Asana

Why You Need a Content Calendar Asana
Social media gets overwhelming fast. Especially when there’s no plan behind it. Posts become last-minute, ideas get lost, and consistency slips. That’s why having a content calendar matters. And why a Content Calendar Asana system can be such a game-changer.
We’ve tried so many tools in our 7+ years as an agency. Some were too complicated. Others were too limiting. However, Asana hits the sweet spot.
This guide walks through exactly how to create a content calendar in Asana. Using the same system we trust to plan content and manage campaigns. And also keep things running smoothly.
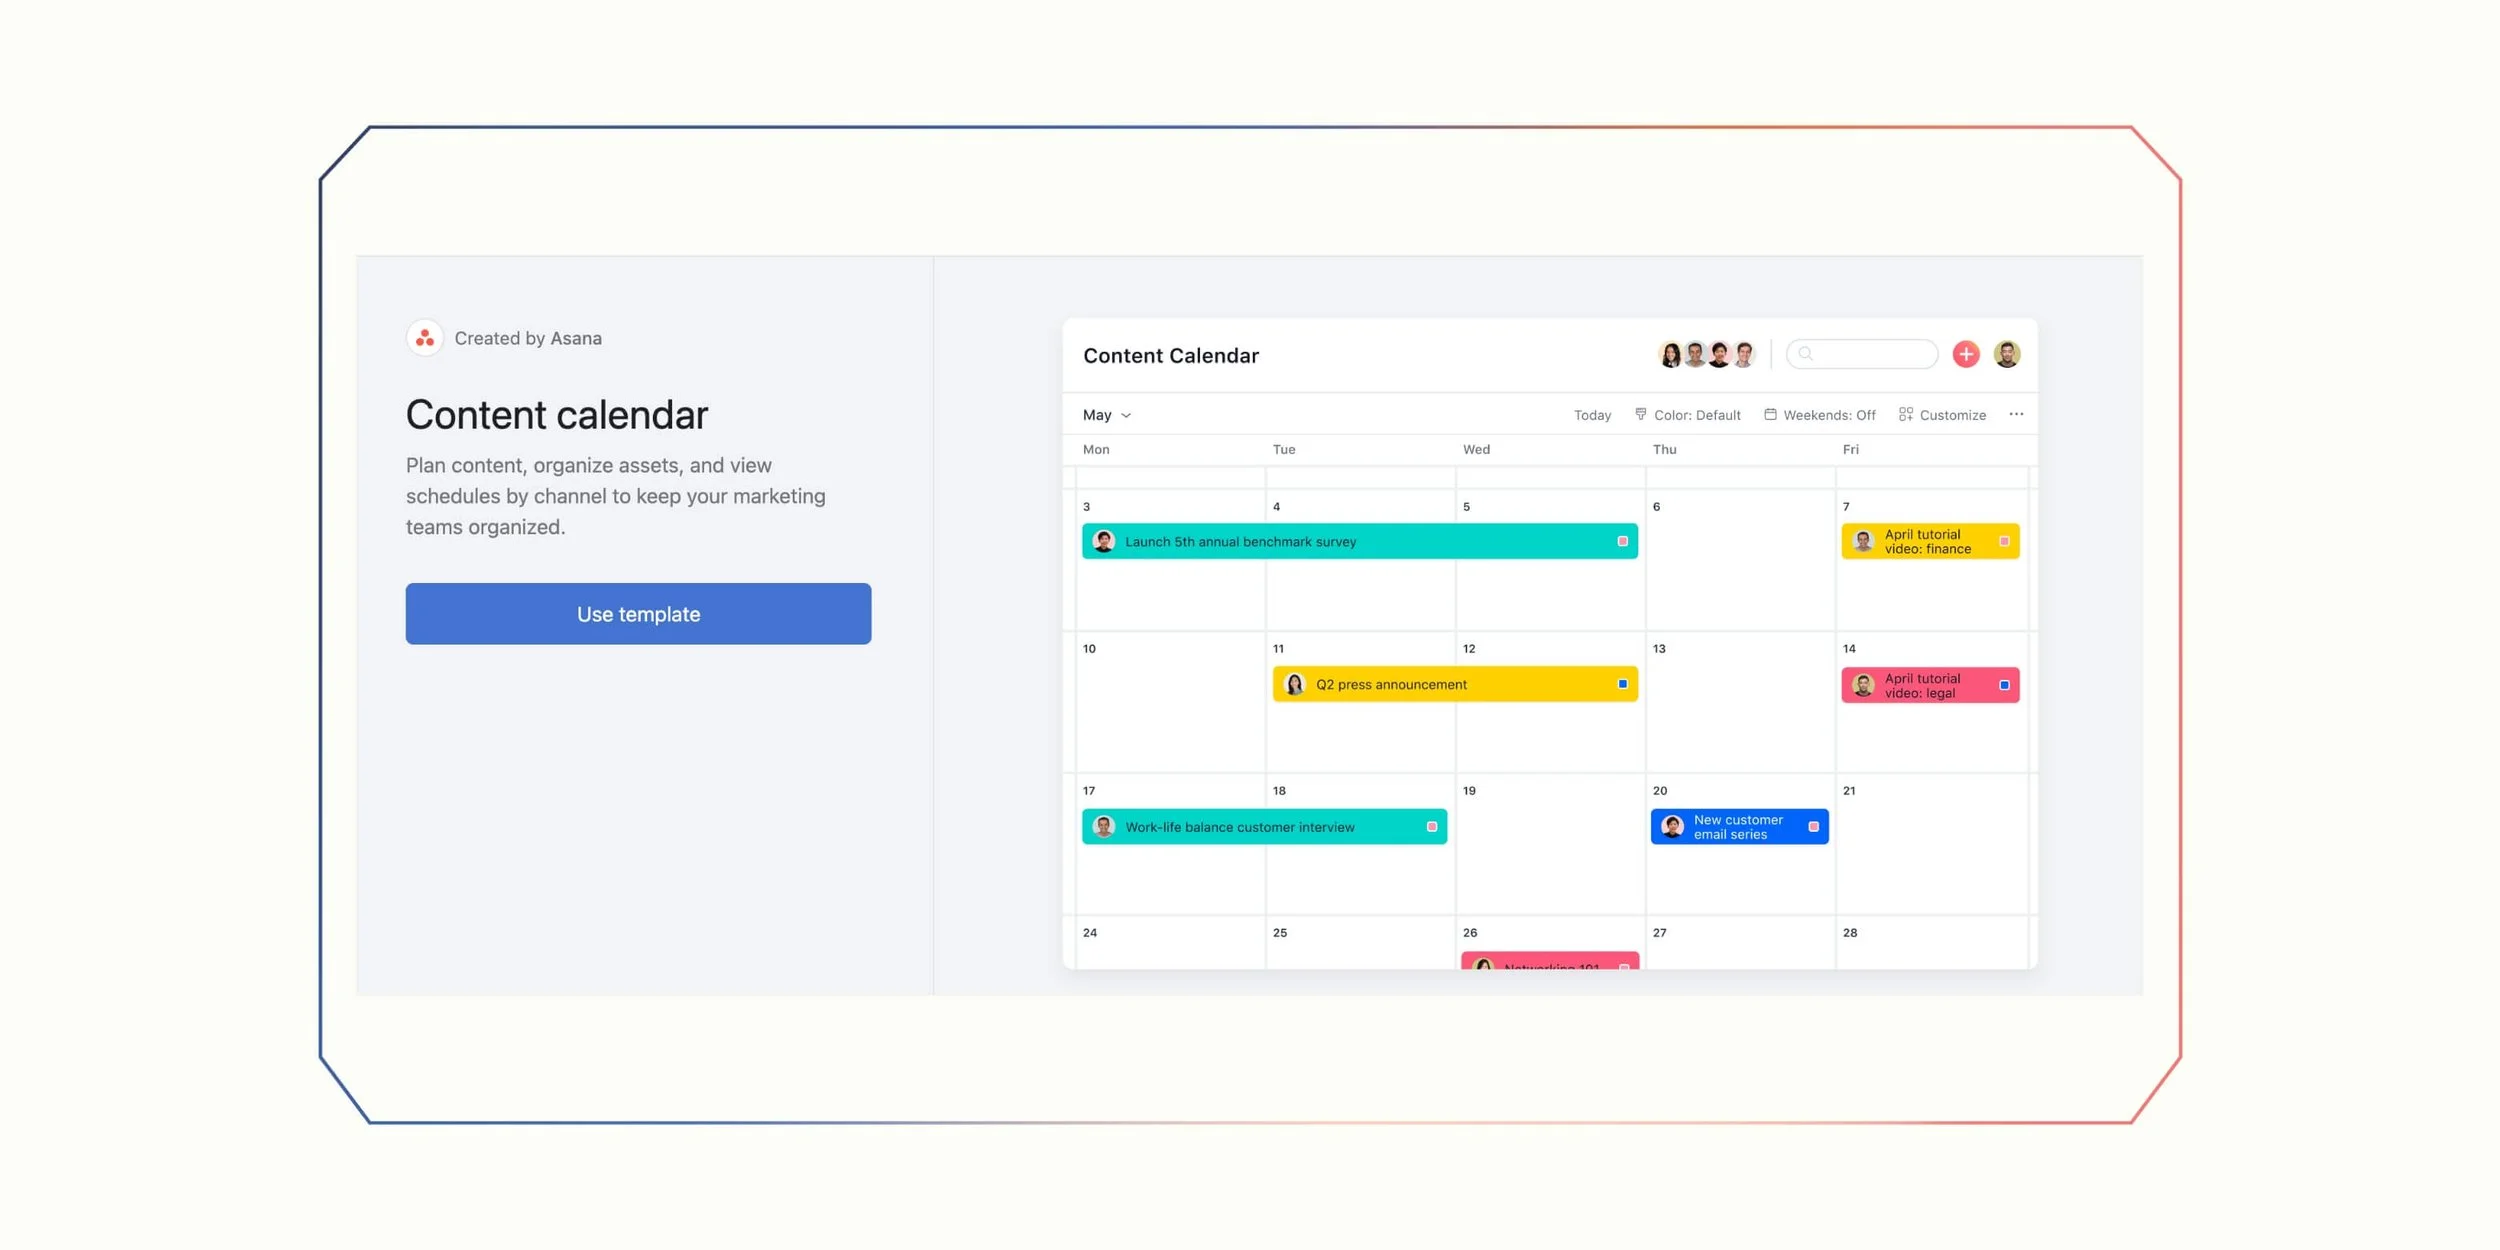
Step 1: Create Your Content Calendar Asana Project
Firstly, create a new project in Asana for your editorial planning. Give it a clear name. Something like “Monthly Content Calendar” works well. This project will become the hub for all your content. In short, it’s a place where everything from ideas to published posts lives.
After that, switch to “Calendar View” to see your plan laid out on a monthly grid.
This view becomes your day-to-day planning surface. Don’t worry! You can still toggle to List or Board view when you need to make bulk edits or triage tasks.
Next, add sections to mirror how you’ll group work both on the board and in reports. Most teams organize by the week (Week 1, Week 2, etc.) to visualize content distribution at a glance.
Others prefer lifecycle stages. For example: Ideas, Drafting, In Review, Scheduled, Published. Pick one model and stick with it. Consistency keeps your data clean.
To create a section:
Click the drop-down next to “Add Task.”
Select Section
Name your section
Finally, add custom fields to capture structured information for routing and reporting. Common fields include:
Channel: Instagram, Blog, LinkedIn, Newsletter, YouTube
Stage: Drafting, In Review, Scheduled, Published
Audience: Prospects, Customers, Partners
In short, with this setup, your Content Calendar Asana system is ready to organize your ideas. And streamline your workflow. Starting from day one. We love that for you!
Step 2: Set Up Templates That Feel Natural
Think of task templates as your shortcut to sanity. There’s no need to build the same content task from scratch every time. Instead, you create a repeatable checklist.
For example, a template called “New Content Asset” might include:
Draft copy
Create visual
Compliance review
Final QA
Schedule/Publish
If someone on your team always needs to be in the loop. Like an editor or approver. Add them as a collaborator. They’ll get notified automatically when the template is updated. So nothing falls through the cracks.
To create your template:
Go to Customize
Then, click Task Templates → + Add
Fill out the fields and subtasks
Above all, templates save time and mental energy. It lets your team follow the same path from idea to “publish” every time. It’s like giving your workflow a cheat code, without cheating.
Step 3: Connect Work and Collaborate With Teams
Content is rarely one-and-done. A single blog post might live in a bunch of places at the same time. For example: your editorial calendar, a product launch plan, and a campaign project.
With Asana’s multi-homing, you can attach a task to multiple projects. Everyone sees the same task, comments, and files. In other words: No duplicates, no confusion.
Keep files close to the work. Integrate Google Drive so drafts, briefs, and final assets live right where the task does. Everyone on the team opens the same version, and dashboards stay accurate. You also avoid those “wait… which file is the latest?” moments.
It’s all about keeping your content ecosystem connected, organized, and headache-free.
Step 4: Track Outcomes With Dashboards and Portfolios
Once your content is flowing, you want to see how it’s doing. That’s where dashboards and portfolios come in.
Portfolios help you group content projects. Therefore, you can monitor your progress as you go.
For instance, monthly calendars, regional campaigns, or anything else you’re working on. Drill into any project to see owners, statuses, and custom-field summaries. So, no more hunting for spreadsheets!
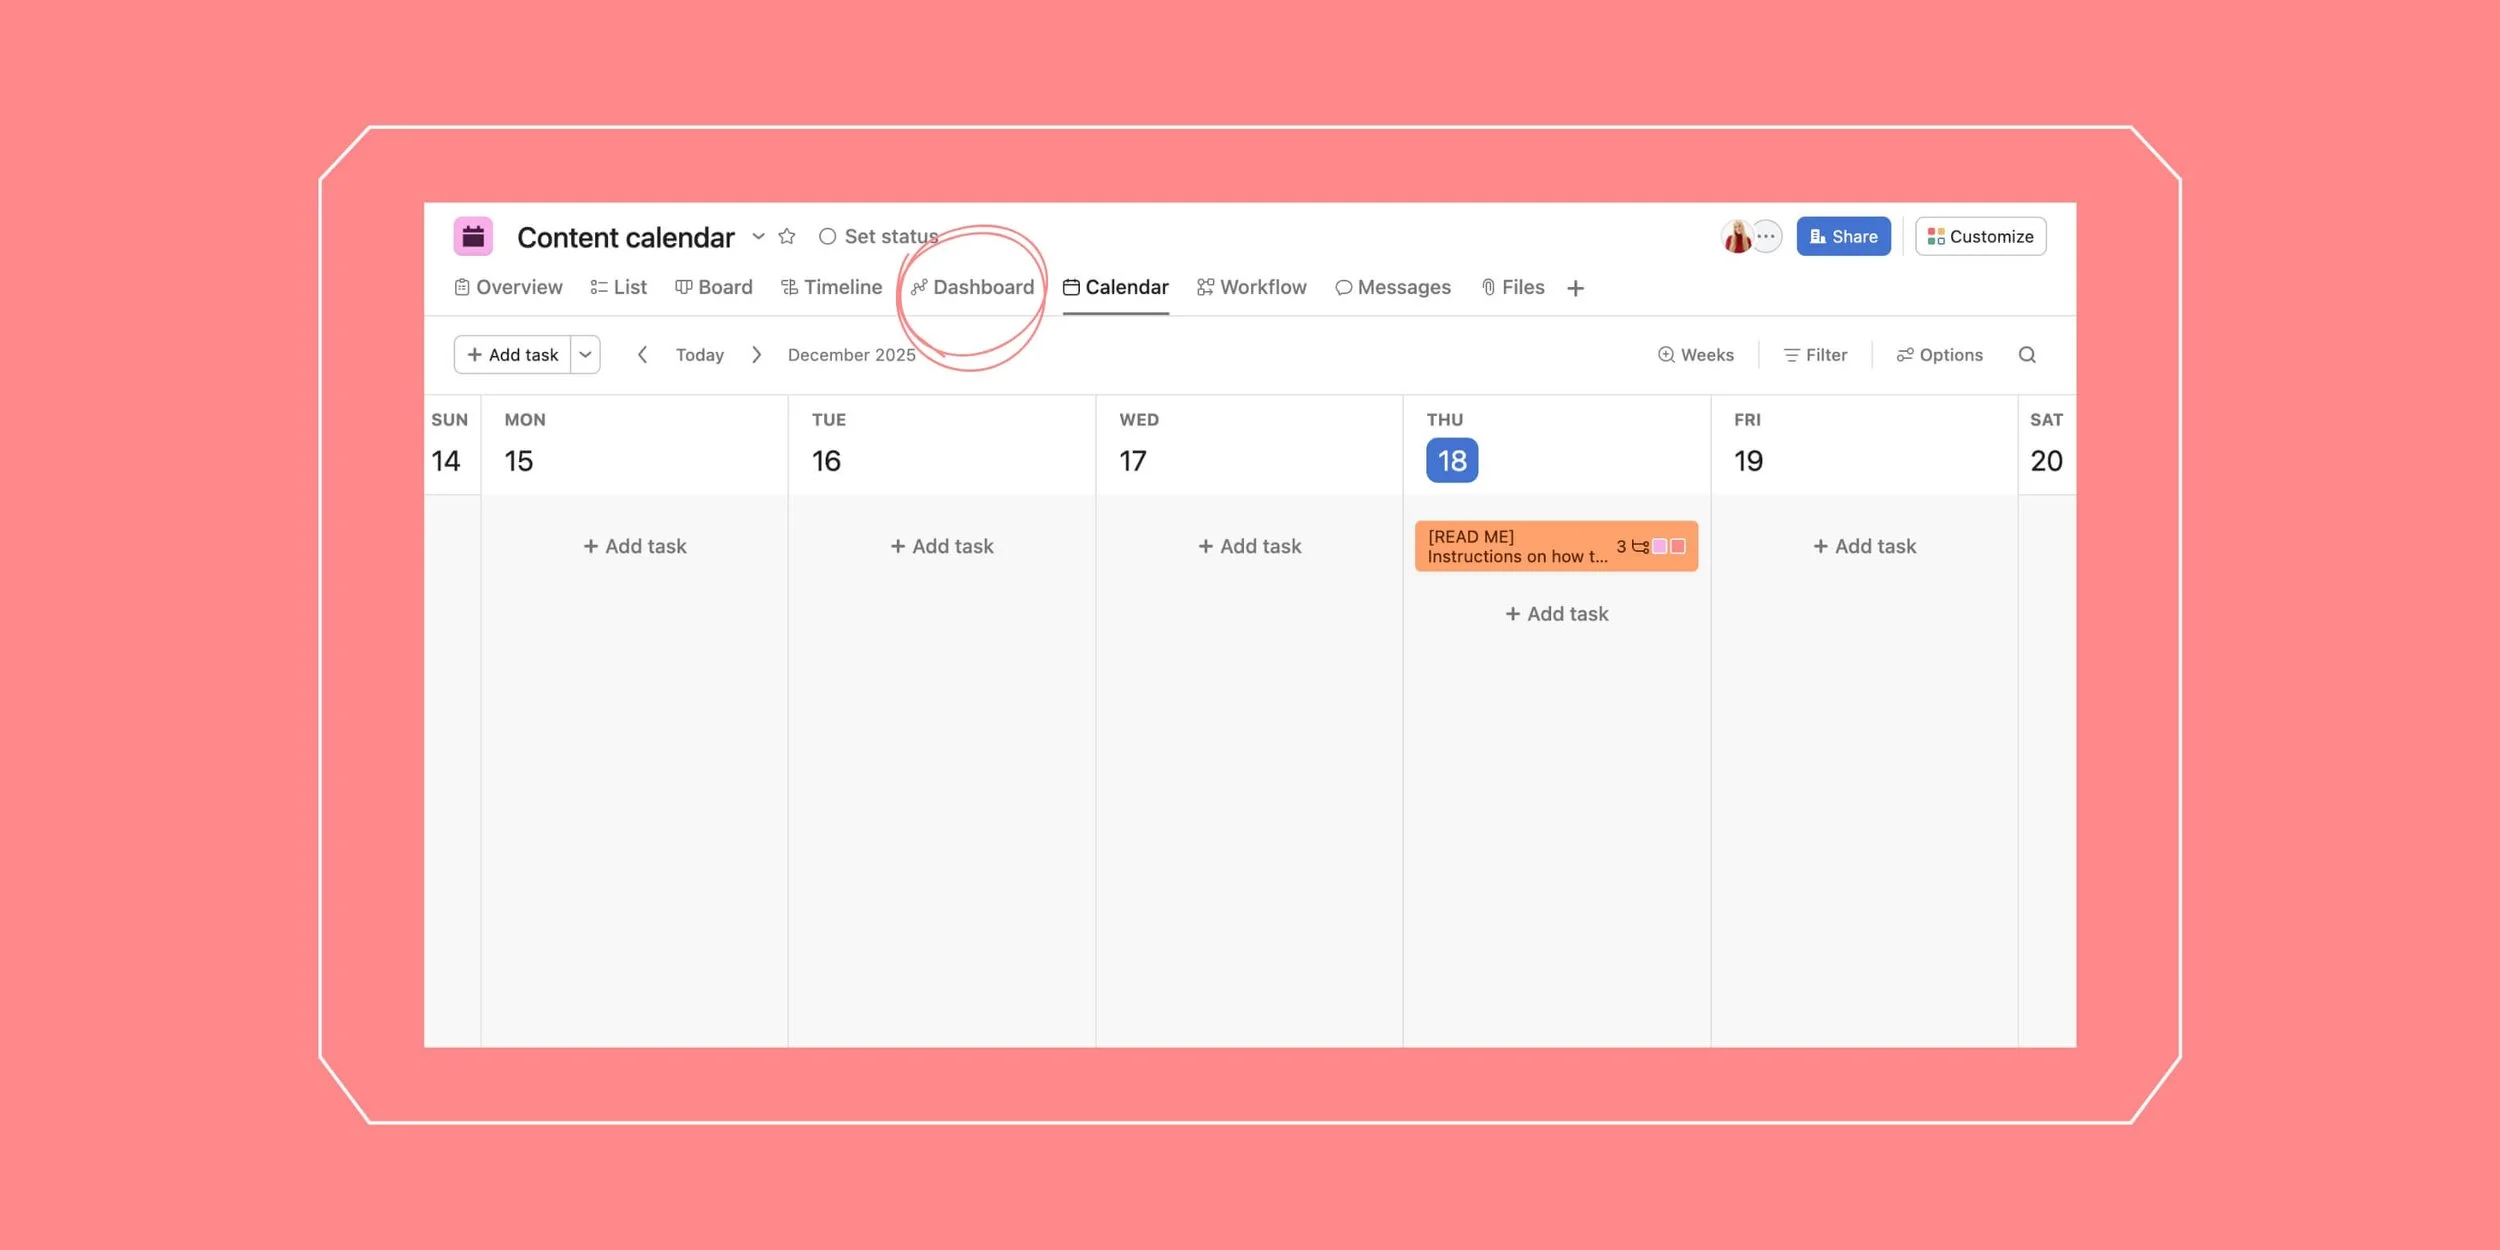
Use the Dashboard tab to visualize your work:
Posts by channel per month
Workload by assignee
Time in stage
Filter charts by Audience or Region to answer questions in seconds. Dashboards update live, so status meetings focus on decisions, not gathering data.
With this setup, your Content Calendar Asana workflow keeps everything organized. It also turns your calendar into a command center. For smarter, faster, more creative content.

Create a Content Calendar and Thank Us Later!
A Content Calendar Asana setup doesn’t just keep your content organized. It gives you space to breathe, think creatively, and show up consistently. When you know exactly what’s coming up, deadlines don’t feel like a nightmare. And then you can focus on making content that actually connects with your audience.
Trust us: a little planning upfront goes a long way in saving time, stress, and energy later.
At Scott Social, we’ve seen firsthand how much easier content creation feels when everything gets mapped out ahead of time. So create your social calendar in Asana, and if you want more help managing it all. You know where to find us!
More Content Creation Tips & Tutorials ↓


WRITTEN BY:
Annie Godin
Social Media Strategist